Introduction of laser-based SRC roughness depth measurement instrument
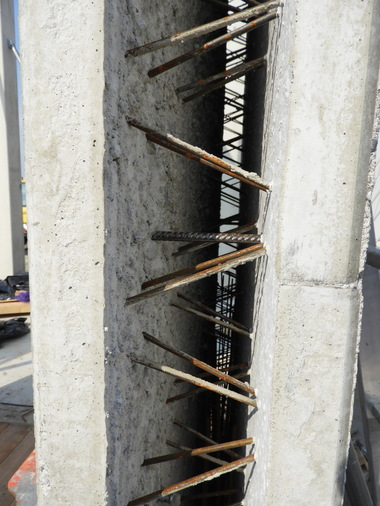
In rehabilitation in bonding precast concrete elements or buildings, the characteristics of surfaces are extremely important for further processing. The various standards and regulations – such as DIN EN 1766, EN 13473-1 TR - Maintenance, DafStb guideline and ZTV-ING – therefore require an analysis of the roughness of surfaces.
Among the procedures described in these regulations is the sand patch test. This rather simple procedure can, according to the manufacturer, reach its limits, in particular on walls and ceilings. Under these circumstances, it can yield no reliable, reproducible applications. In response to the demands of the market, Form+Test – together with the German Federal Institute for Materials Research and Testing (BAM) and with Prof. Dr.-Ing. Schulz of Frankfurt University – developed a laser-based roughness depth measuring instrument.
Likewise according to the manufacturer, the laser procedure is furthermore superior to the sand patch test in many respects. Work on pronouncedly inclined vertical surfaces or on ceilings is possible without great effort. In addition, this method eliminates influences from wind and damp surfaces. Measurement precision fluctuations by application-specific operator errors are largely precluded.
Designed for universal application and future-oriented
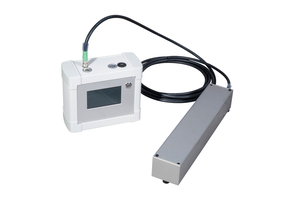
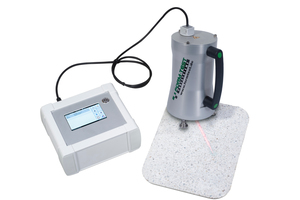
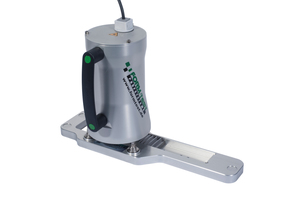
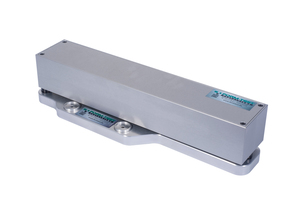
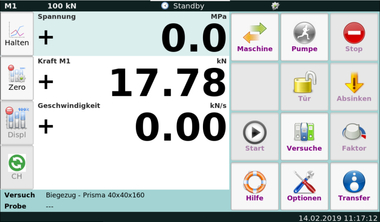
Beginning with a unit that controls all test procedures, and records and processes the measured values, two different systems are available to the user. Here, the system developed by BAM employs a line laser that leads to especially high measuring speeds. The system developed together with Prof. Schulz, in contrast, is based on a cost-efficient and space-saving point laser, powered by a motor, that is guided over the test surface.
Both measuring systems are therefore able to deliver digital measurement data.
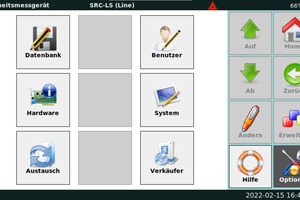
Field trials have shown that, in contrast to the sand patch test, high reproducibility can be guaranteed. In synergy with the controller unit, test series can be performed within a very short time. Classification into the corresponding roughness depth category of the building structure maintenance guideline is greatly simplified. With the especially developed software, material consumption can also be determined. All of the measured data can be read out and summarized in a report. The range of devices includes the SRC basic controller unit with integrated analysis software, to which both the SRC-LS line laser and the SRC-PS point laser can be connected. The device is designed for universal application and is future-oriented.
CONTACT
Form+Test Seidner & Co. GmbH
Zwiefalter Str. 20
88499 Riedlingen/Germany
+49 7371/9302-35
