High-tech supports quality management
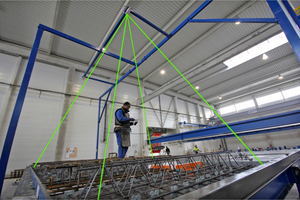
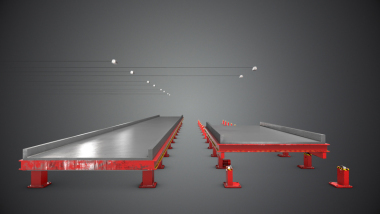
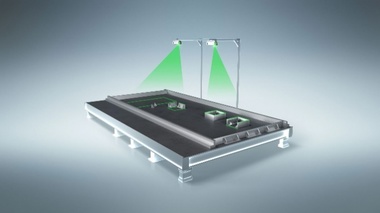
Quality assurance measures have the aim of detecting errors as early as possible in the production process. In addition, the supplied quality must be documented. The laser projection system Unilaser is the most suitable for checking the position and completeness of formwork and built-in parts. The contours of the concrete elements to be produced and the position of the built-in parts can be displayed before the pallet is concreted. Projection can be selected at pallet level or on the upper side of the formwork. The height is automatically read from the CAD data for built-in parts and the markings displayed at the correct height. In double-wall production, the girders of the first shell are displayed on the second shell. This prevents collisions when turning-in.
Verification of quality
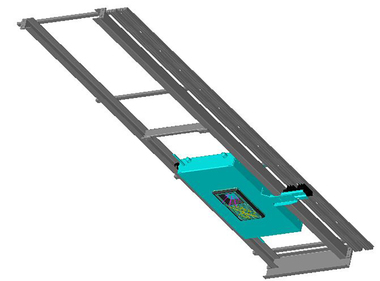
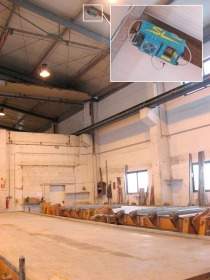
Photographic documentation is suitable for verification of quality. The pallet is imaged by automatic industry camera before it moves to the concreting station. The image is sent to the Unicam master computer and archived there with the unique production unit number. The dimensional accuracy of the finished elements can be checked with 3D measurement. Unitechnik has developed a 3D scanner for this purpose. The measured image of the parts is compared with the CAD data. Any deviations are displayed on a monitor at the lift-off station.
Overview of the advantages
The advantages are fewer rejects, improvement of quality, detection of internal weak points, reduction of complaints, in-depth handling of complaints, long-term archival, optical systems in rugged industry design and integration in the automation system of Unitechnik.
